
What Are You Looking For?
What Are You Looking For?
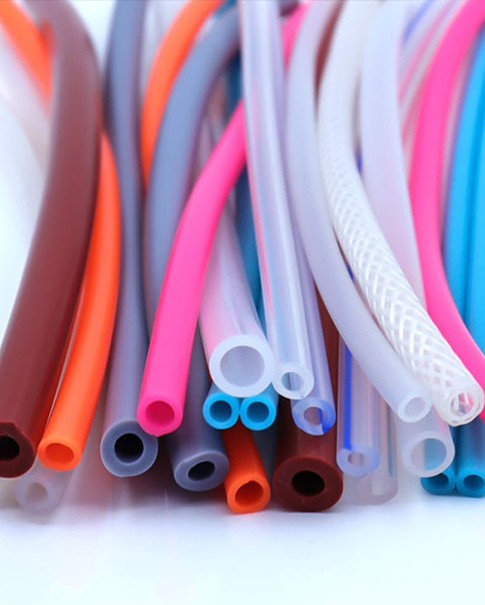

You help your car run better and last longer when you install a vehicle silicone hose correctly. First, you need to follow steps like preparing the area, fitting the hose, and checking for leaks. This prevents common problems such as leaks or early hose failure. Many car owners notice big improvements after switching to silicone. Silicone hoses last much longer than rubber, resist harsh weather, and stay flexible in hot or cold temperatures. They also handle vibration well and do not stick to metal parts, making future maintenance easier.
Before you install a new vehicle silicone hose, you need to prepare your workspace and your car. Good preparation helps you avoid mistakes and keeps your car running smoothly.
Start by letting your engine cool down completely. Hot engines and coolant can cause burns. Once the engine is cool, use a jack and jack stands to lift your vehicle safely. Make sure the car sits on a flat surface and does not move. Safety always comes first.
Next, place a drain pan under the radiator. Open the drain valve and let the coolant flow out. Use rags or paper towels to clean up any spills. After draining, use screwdrivers and pliers to loosen the clamps on the old hoses. Gently twist and pull the hoses off the fittings. If the hose sticks, use a sharp utility knife or hose cutter to carefully cut it away.
Tip: Gather all the tools and materials you need before starting. You will need:
- Screwdrivers
- Pliers
- Hose clamps
- Sharp utility knife or hose cutter
- Lubricant (soapy water or hose lubricant)
- Torque wrench
- Rags or paper towels
After removing the old hoses, clean the fittings with a rag. Check for any signs of damage or debris. Look for:
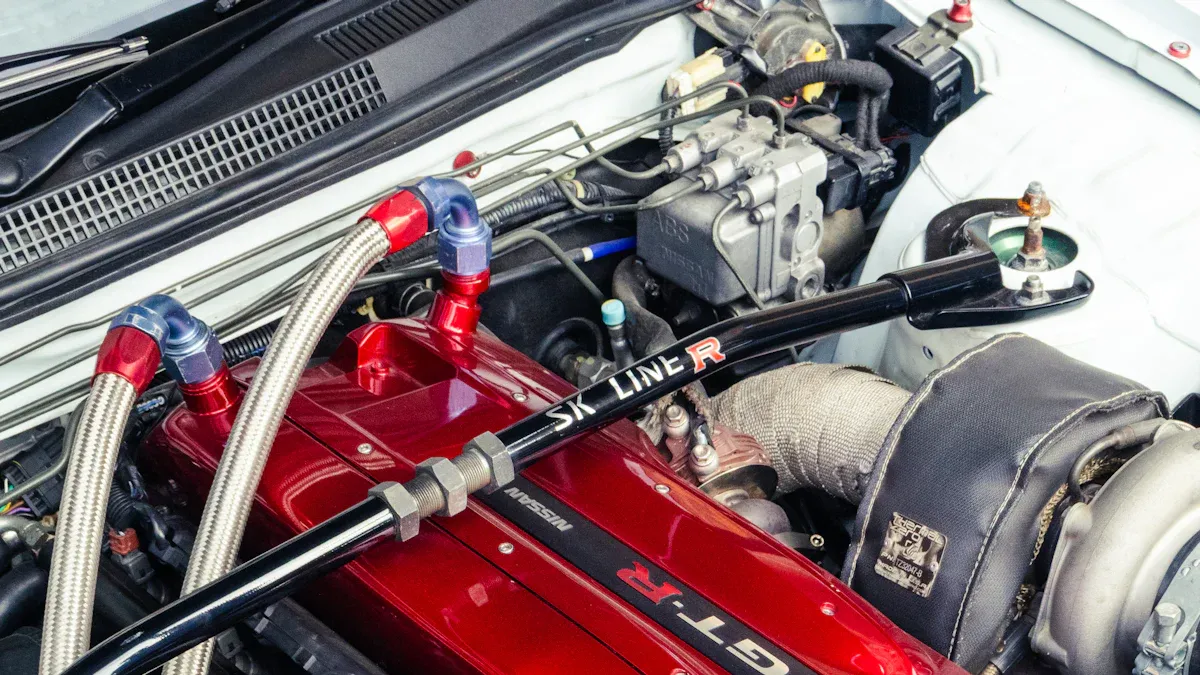
Make sure the fittings match the correct standard for your new hose. High-quality fittings, clamps, and high temperature reinforced silicone couplers help prevent leaks. Avoid sharp bends or twists when you install the new hose. Proper alignment keeps the hose from rubbing against other parts and wearing out early.
Regular inspection and cleaning help you spot problems before they get worse. This careful preparation ensures your vehicle silicone hose will last longer and perform better.
You need to match each new hose to the correct position in your vehicle. Start by laying out all the hoses and compare them to the old ones. Check the length, diameter, and shape. Make sure each hose fits snugly over the fittings. Cut the ends cleanly if needed. Bevel the edges for a smooth fit. This step prevents leaks and ensures proper flow.
Tip: Always double-check the orientation of each hose. Installing a hose in the wrong direction can reduce performance.
Follow these steps to match and fit new hoses:
Chamfering means you smooth and angle the hose ends. Use a utility knife to create a beveled edge. This helps the hose slide onto the fitting easily and creates a strong seal. You can open and close the joint many times without causing leaks.
Lubricate the fittings before you install the hose. Apply a small amount of soapy water or silicone paste to the inside of the hose and the fitting. Lubrication reduces friction and makes installation easier. It also helps you avoid damaging the hose.
You must slide the hose fully onto the fitting. Make sure the hose passes the raised bead or barb. This keeps the hose from slipping off during operation. Inspect the hose and fitting for cleanliness before you start.
Push the hose gently but firmly. Avoid kinking or twisting the hose. If the hose feels tight, use a little more lubricant or warm the hose with a heat gun.
Position the clamp about a quarter-inch (at least 3mm) from the end of the hose, just behind the bead. The clamp should sit parallel to the hose. This placement gives you the best seal and prevents leaks.
Note: Failing to clean mating surfaces or not checking hose orientation can cause leaks and poor performance.
You need to secure the clamps with the right amount of force. Use a torque wrench for accuracy. Light worm gear clamps (¾ inch) require 10 to 30 in-lbs of torque. Larger clamps, like radiator or t-bolt clamps, may need 60 or more in-lbs.
A good rule is to tighten the clamp until you see a slight bulge in the hose. This shows a secure fit without damaging the silicone. Do not over-tighten, as this can weaken the hose.
| Installation Error | Description |
|---|---|
| Improper installation | Can lead to leaks, ruptures, or loss of functionality. |
| Incorrect hose selection | Using the wrong hose can cause significant issues. |
| Inadequate maintenance | Poor maintenance leads to performance issues and hose failure. |
| Improperly sized fittings | Causes kinking and damage, leading to leaks or performance degradation. |
| Incorrect hose orientation | Installing hoses in the wrong direction hinders performance. |
Callout: One of the most frequent mistakes is using hoses for applications they were not designed for. This can cause hose failure and costly repairs.
You can now repeat these steps for each hose in your vehicle. Careful installation ensures your vehicle silicone hose performs well and lasts longer.
You can keep your silicone hoses looking new and working well with the right cleaning methods. Dirt and grime can build up over time, but you do not need harsh chemicals to clean them. Use gentle products that protect the hose material, especially for a custom silicone intake hose.
Tip: Clean your hoses when you notice dirt or after working in dusty or muddy areas. Regular cleaning helps you spot problems early.
You should check your hoses often to keep your vehicle running safely. A good rule is to inspect your hoses at least once a year. Look for signs of wear, damage, or changes in color. Pay close attention to the areas near connectors and clamps, as these spots can show problems first.
If you find any issues, replace the hose right away. Taking care of your Vehicle Silicone Hose helps prevent breakdowns and keeps your engine safe.
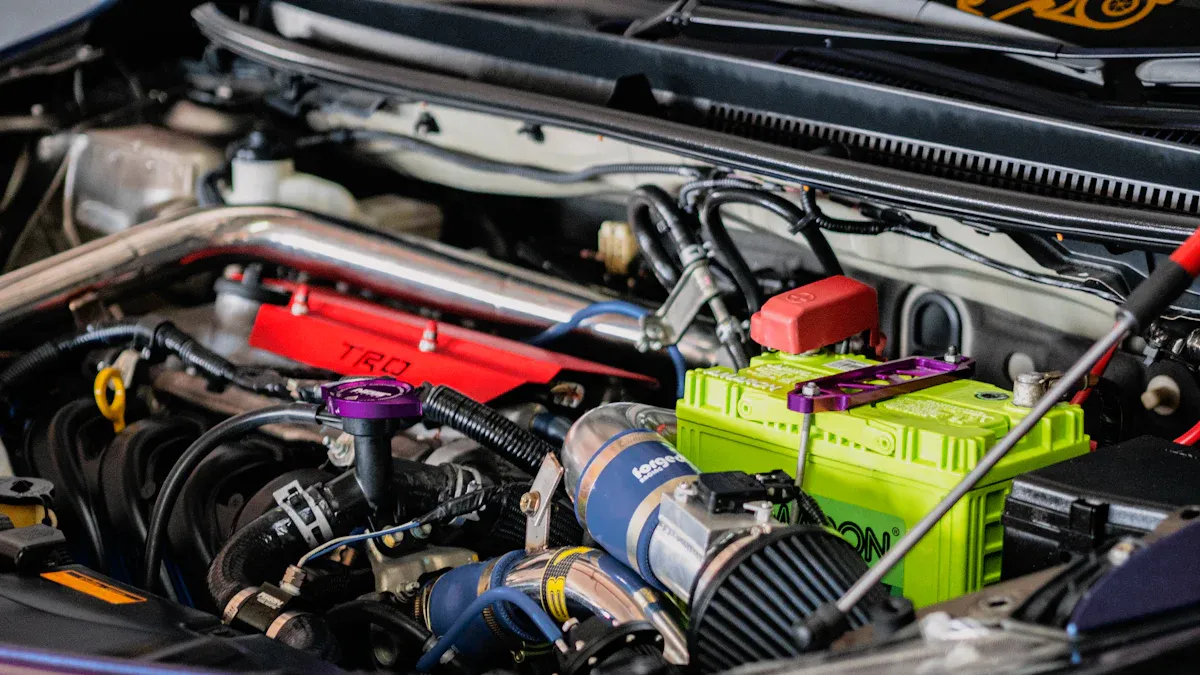
You can take steps to protect your hoses in hot areas. Choose silicone rubber for its flexibility and reliability. If you need more chemical resistance or higher thermal stability, consider fluoropolymers. These cost more but last longer in tough conditions. Thermoplastic elastomers give you good flexibility and make installation easier. For places with high pressure and heat, metal tubes like stainless steel work best.
Tip: If you drive in extreme heat, inspect your hoses more often. Early checks help you spot problems before they get worse.
You can keep your hoses safe and working well by following these tips. Knowing the limits and choosing the right materials helps your engine stay cool and reliable.
You should check your silicone hoses at least once a year. Look for cracks, leaks, or soft spots. Early inspection helps you catch problems before they cause engine damage.
You need to use clamps made for silicone hoses. Regular clamps can cut into the hose and cause leaks. Choose smooth-band clamps for the best results.
You can clean silicone hoses with hot soapy water and a soft cloth. Avoid harsh chemicals. Baby wipes also work well for quick cleaning.
| Vehicle Type | Silicone Hose Fit |
|---|---|
| Cars | Yes |
| Trucks | Yes |
| Motorcycles | Yes |
| Heavy Equipment | Sometimes |
You must tighten clamps evenly and check for leaks with a pressure test. Make sure the hose sits past the bead and the clamp is in the right spot.
Looking For A Reliable Business Partner For Your Next Project?

Business Enquiries
+86 15160066997